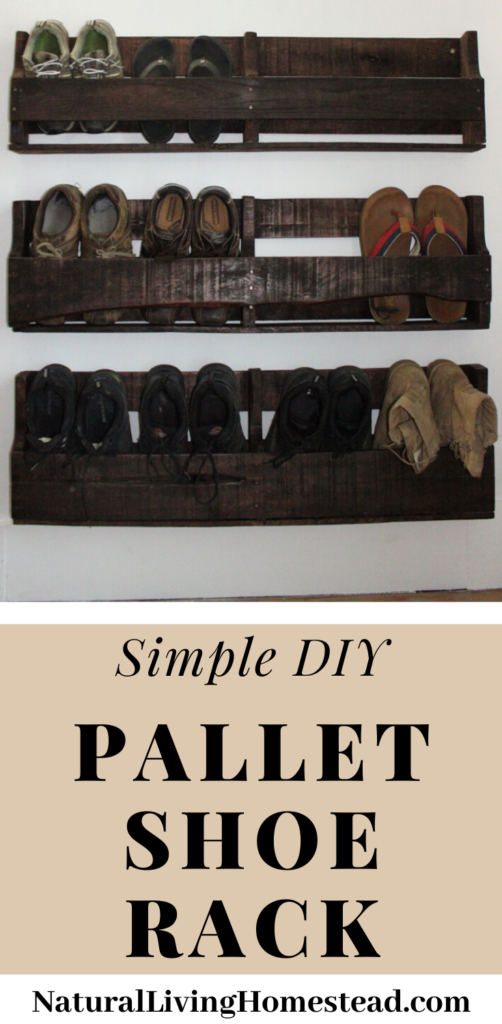
Learn how to build this simple DIY pallet shoe rack. This is a very simple design with very few cuts to make three shoe racks you can hang on your entry way wall.
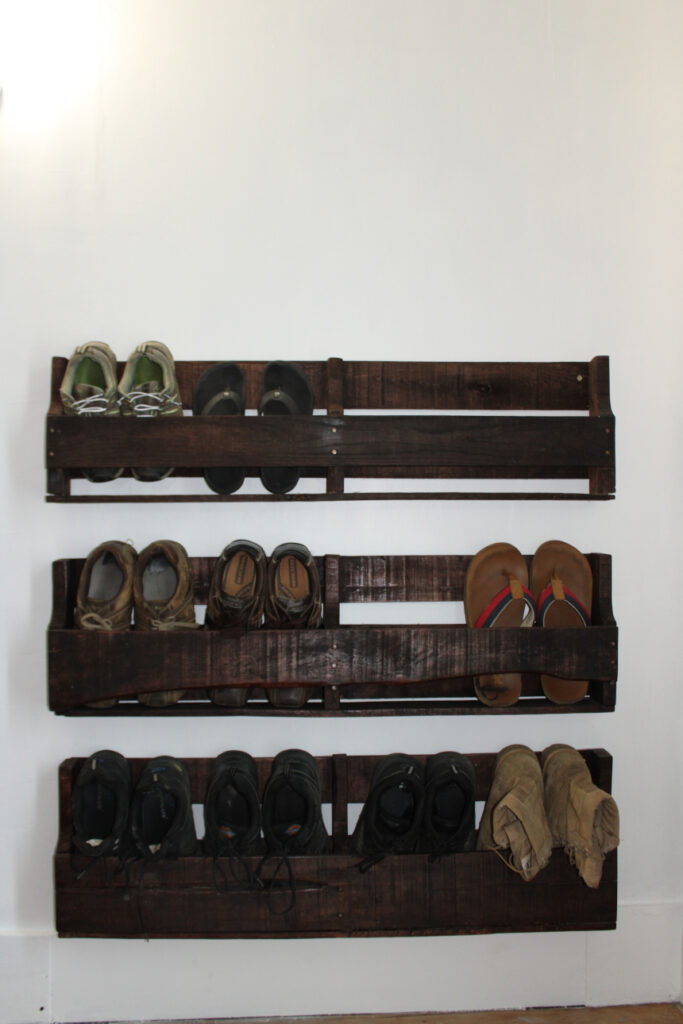
If you need something on your homestead and all you have are pallets, there’s a pretty good chance you can make it out of pallets. Around this homestead I use pallets for a bunch of things. From garden planters and trellis to pallet flags and shoe racks.
This summer seems to be the summer of DIY projects for us. We’ve been very busy making things for our garden and around the house.
We have made raised garden beds out of scrap wood as well as potato planters out of scrap wood. My husband also made our daughter a Montessori floor bed. Not much goes to waste around here.
As I have heard a gentleman say, “Use it up, wear it out, make it do, or do without.” It really stuck to me. It makes so much sense and I try to implement that wherever I can.
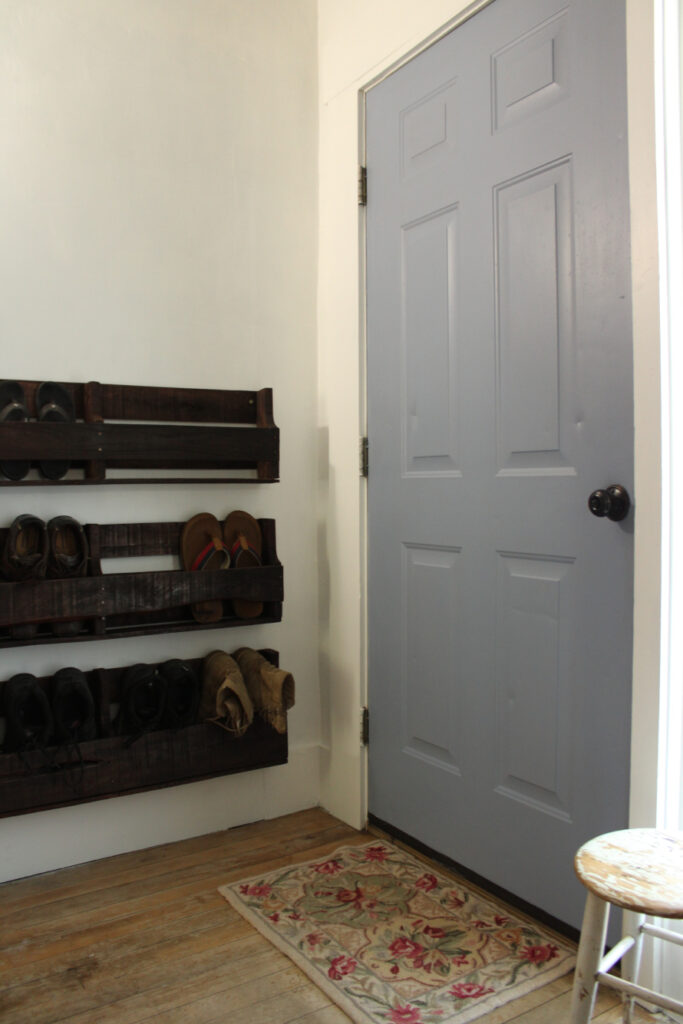
In our early 1900’s home, there isn’t much storage space. Our entryway is a bit small, a stairway to go upstairs and a small hallway to the living area. So I need to be a bit creative when it comes to keeping the necessary items around the house, whilst keeping it organized.
So a few years ago we made some wood pallet shoe racks and hung them unfinished in our entry way. This summer we decided to sand them down and give them a nice coat of stain to liven them up.
That stain made a world of difference. The color is lovely and they pop in a much nicer way then the grey/brown color that they were.
We chose to stain them because we like the look of the wood and the stain brings out the grains of the wood and preserves it a bit. If the wood wasn’t in the best of condition I probably would have painted it but to me the natural wood looks looks the best.
Why I Love DIY Pallet Shoe Racks
I wanted a place to keep shoes that we are currently using in one designated area.
Because we hung them on the wall it keeps the floor clear of shoes. Just slide off your shoes and pop them toe side first into the rack.
Since our front door opens up against the wall, there wasn’t much I could do with that wall. A shoe rack seemed like the perfect thing to put there. There is just enough clearance and then some to hang them on the wall behind the door.
It gives new life to an old pallet makes a very creative space saving item.
Saves me money! That’s a big one. There’s a couple places in town where they regularly throw out or put pallets by the road for free. Boo-yeah!
Tips for Making a DIY Pallet Shoe Rack
- When sanding, I would recommend sanding the corners well to prevent any unwanted splinters.
- After sanding your shoe racks, wipe them down with a DAMP rag. This will remove any dust and loose debris and will allow your paint or stain to stick and go on smoothly.
- When hanging your shoe racks, I recommend placing your longest pair of shoes in the the middle and bottom rack. This will make sure that you have enough space between each rack, so you can easily get them in and out.
- If you have extra pallets or a large enough one you may be able to get a fourth shoe rack out of one pallet if you cut in the center of your pallet. You will need some extra boards from another pallet if you try to make a fourth one though.
Equipment needed
A pallet with character
Hand saw or Sawzall
Hammer and/or pry-bar
Sander
Stain or paint of choice
Rag or Paint brush
Polyurethane to preserve the stain and give a smooth coating
Stud Finder
Screw gun
Screws – 3 inch recommended
A level
How to make a DIY Pallet Shoe Rack
Cut your pallet into 3 even sections.
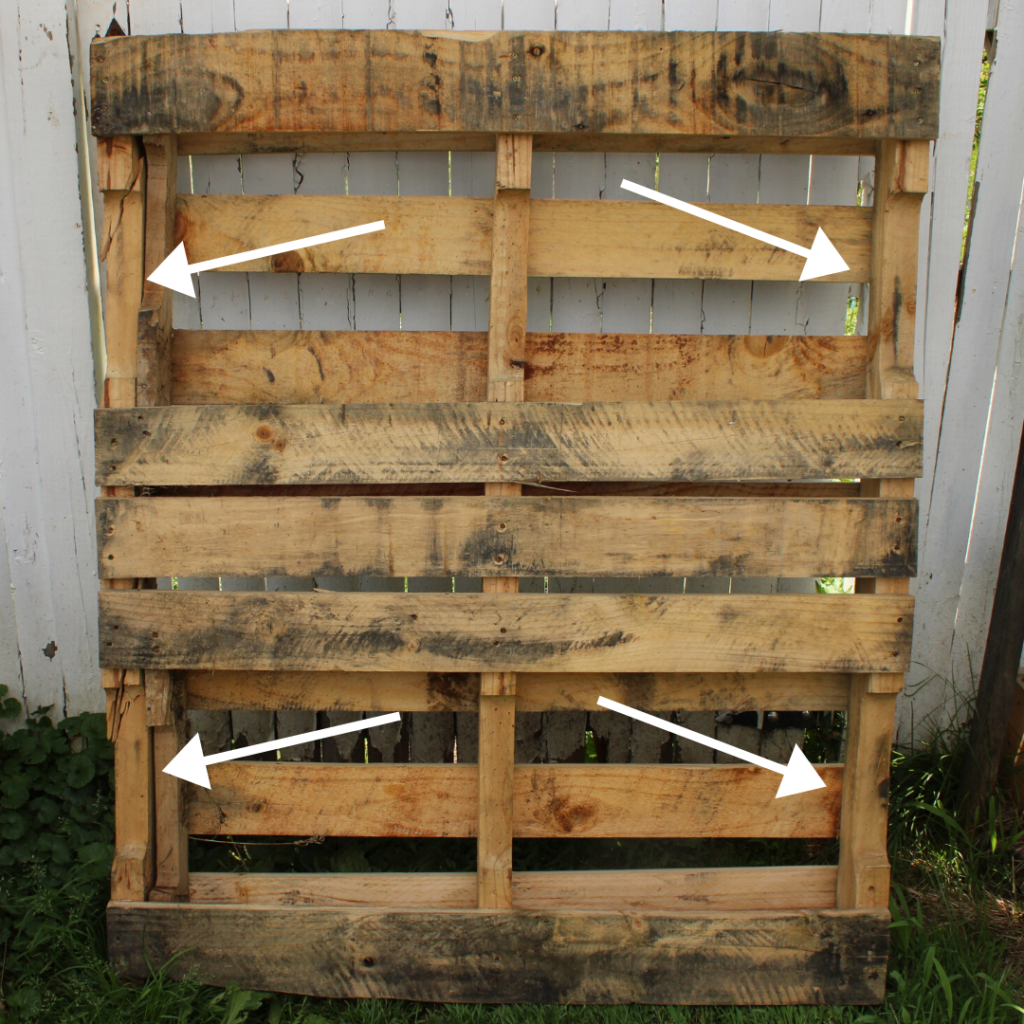
You may need to move some boards around to make the back of the racks where they need to be so you can attach them to the wall better and look the best.

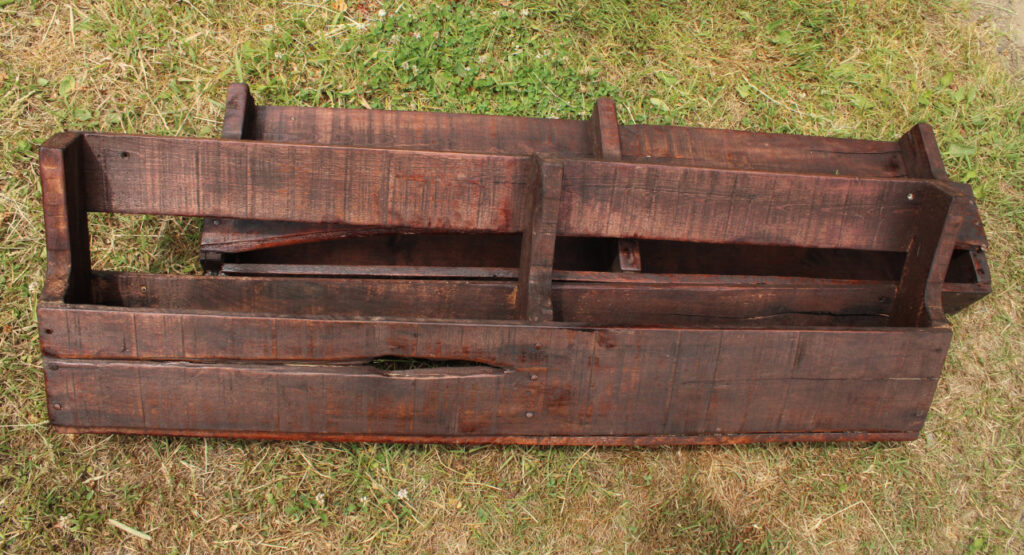
Some of the extra boards were removed and placed on the bottom of each cut section. This will help hold the shoes in place and will catch any dirt so it doesn’t get on any of the shoes below.
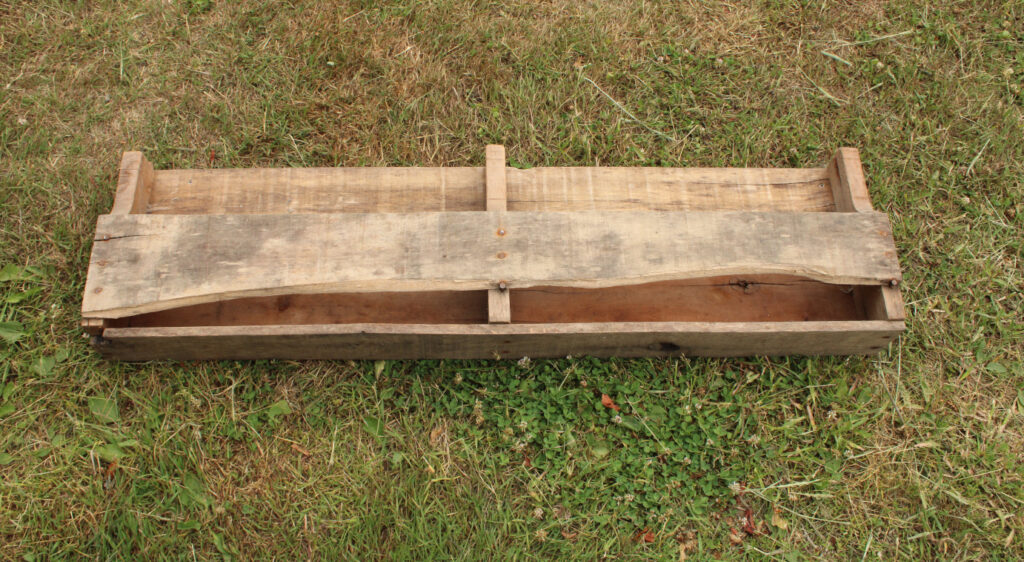
Once you have the shoe racks put together the way you would like them you can now sand them.
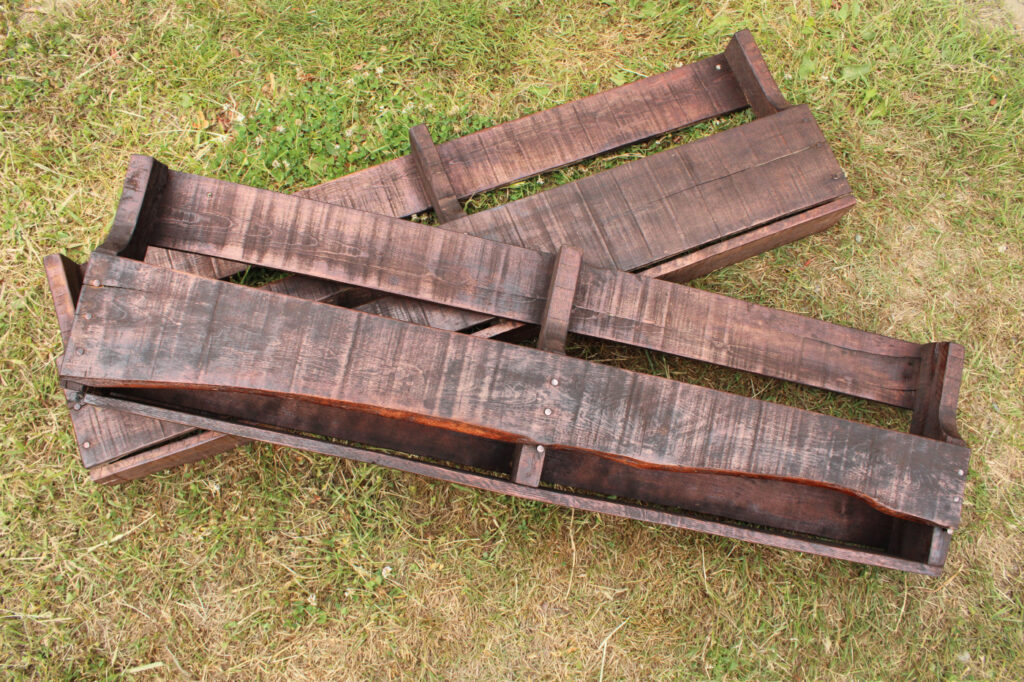
At this point you can paint or stain the shoe racks as desired. If staining, once the stain is dry, you can add the polyurethane. Two coats is usually recommended.
Now with your stud finder, find your studs. Though they are only holding shoes, depending on what kind of wood the pallet was made out of, the shoe racks can be pretty heavy.
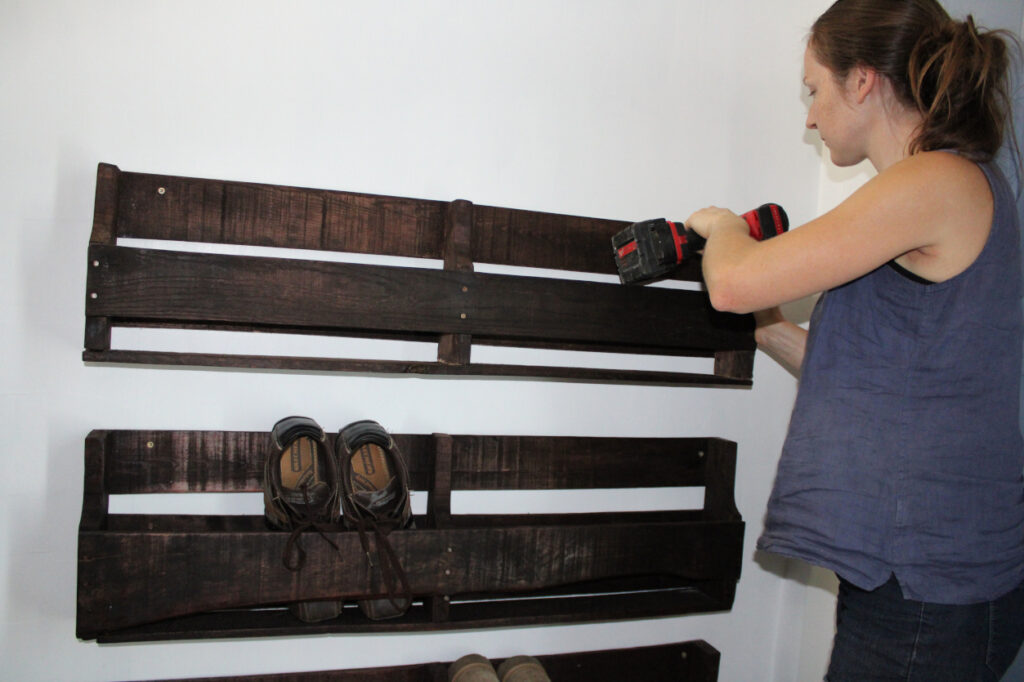
Space your shoe racks evenly apart. Use your level to keep them straight.
Now stand back and admire your handy work!
Find More Handmade Home Projects
Show your support and appreciation. If you made this recipe and loved it, give it a 5 star review and leave a comment. Follow me on Instagram @naturalliving.homestead then tag me in a photo of your amazing creation! Thank you!
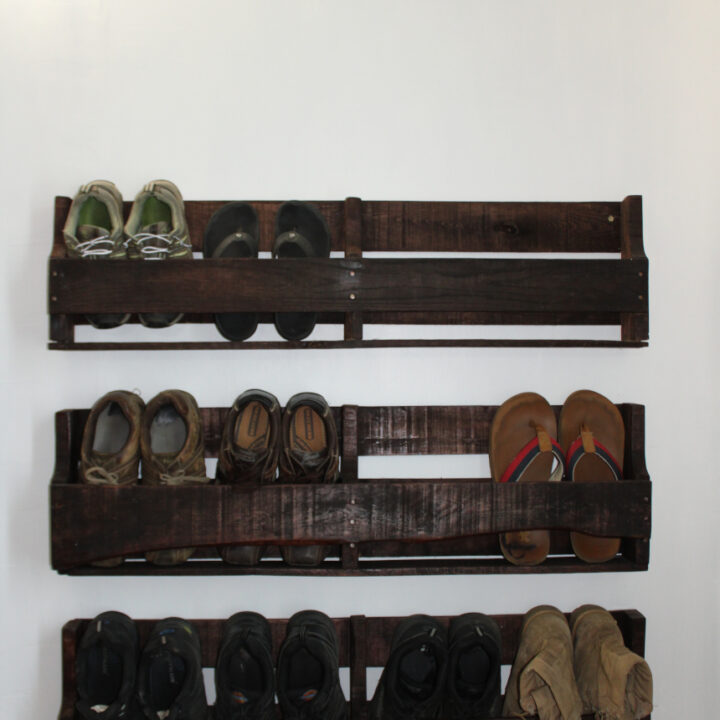
Simple DIY Pallet Shoe Rack
A simple and unique way to store your shoes up and out of the way while being easily accessible.
Materials
- A wood pallet with character
- Stain or paint
- Polyurethane if staining
Tools
- A pallet with character
- Hand saw or Sawzall
- Hammer and/or pry-bar
- Sander
- Stain or paint of choice
- Rag or Paint brush
- Polyurethane to preserve the stain and give a smooth coating
- Stud Finder
- Screw gun
- Screws - 3 inch recommended
- A level
Instructions
Cut your pallet into 3 even sections.
You may need to move some boards around to make the back of the racks where they need to be so you can attach them to the wall better and look the best.
Some of the extra boards were removed and placed on the bottom of each cut section. This will help hold the shoes in place and will catch any dirt so it doesn't get on any of the shoes below.
Once you have the shoe racks put together the way you would like them you can now sand them.
At this point you can paint or stain the shoe racks as desired. If staining, once the stain is dry, you can add the polyurethane. Two coats is usually recommended.
Now with your stud finder, find your studs. Though they are only holding shoes, depending on what kind of wood the pallet was made out of, the shoe racks can be pretty heavy.
Space your shoe racks evenly apart. Use your level to keep them straight.
Now stand back and admire your handy work!
Notes
- When sanding, I would recommend sanding the corners well to prevent any unwanted splinters.
- After sanding your show racks, wipe them down with a DAMP rag. This will remove any dust and loose debris and will allow your paint or stain to go on smoothly.
- I recommend placing your longest pair of shoes in the the middle and bottom rack to make sure you have enough space between each rack so you can easily get them in and out.
PIN IT FOR LATER

This is such a great idea. I think this is way prettier than a storebought one anyway. i Love the look of raw wood! thanks for the inspiration!
Thank you!
Oh this is such a fun idea! Will have to show to the hubs and see if he will make it!
Yay! Have fun!
These look so cool! What a great way to organize the shoe chaos!!
Yes! It makes it so much neater 🙂
This is such an amazing idea! Love to upcycle and we definitely have some palettes we could use up!
Thank you! They also make great wall mount book shelves.
I’ve been pulled out of work for health reasons. Since I have a big garage, I thought it would be cool to practice “diy” projects. I built a gun rack and it turned out really cool. I’m now in the middle of the shoe rack and I’m having a blast. It’s coming together beautifully. Thank you for all your help and guidance.