
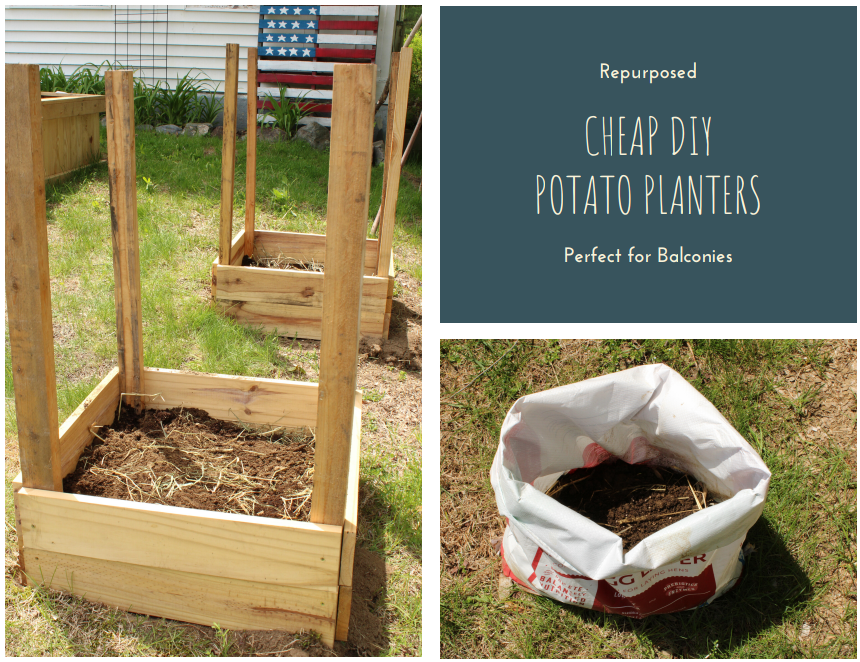
This year I have so many potatoes to plant I need some quick and cheap DIY potato planters. So I’ve done some digging (pun intended) and have found 2 ways you can get potatoes growing on your homestead. Let’s dive on in and I’ll show you how!
Back Story of Cheap DIY Potato Planters
I recently got my sweet potato slips in the mail because I was silly and didn’t think to grow my own. Oh well, there’s always next year.
So once they arrived I knew I wouldn’t be able to plant them in a permanent potato box outside. We were still getting some cold nights and I didn’t want to take the chance of them dying.
I actually stumbled upon this idea from Lisa Steele’s website, Fresh Eggs Daily.
This idea is actually more popular then I realized. I love this idea so much I knew I had to share this with everyone.
Benefits of Cheap DIY Potato Planters
This first DIY is great if you have chickens or something of the like. This DIY calls for feed bags. Having ducks and chickens myself, I have plenty of these bags. You could also use empty plastic compost bags or if you use wood pellets to heat your home you can use those bags as well.
These options are great if you need something quick and cheap but the ground isn’t an option, this one works great. This idea will also work great if you only have a small porch or balcony to plant on living in the city.
Lets not forget, they save you money since we are using scrap wood and empty grain bags.
Though, once these bags are filled with soil after a couple months you may not want to move them. I only move them in the early weeks, just to keep my plants safe from the cold weather. After that to you can keep them outside in a nice sunny location.
How to Make Grain Bag DIY Potato Planters
Equipment
- Grain bags or something similar
- Scissors
- Old window screens
- Potting soil or top soil
- Compost
- Straw
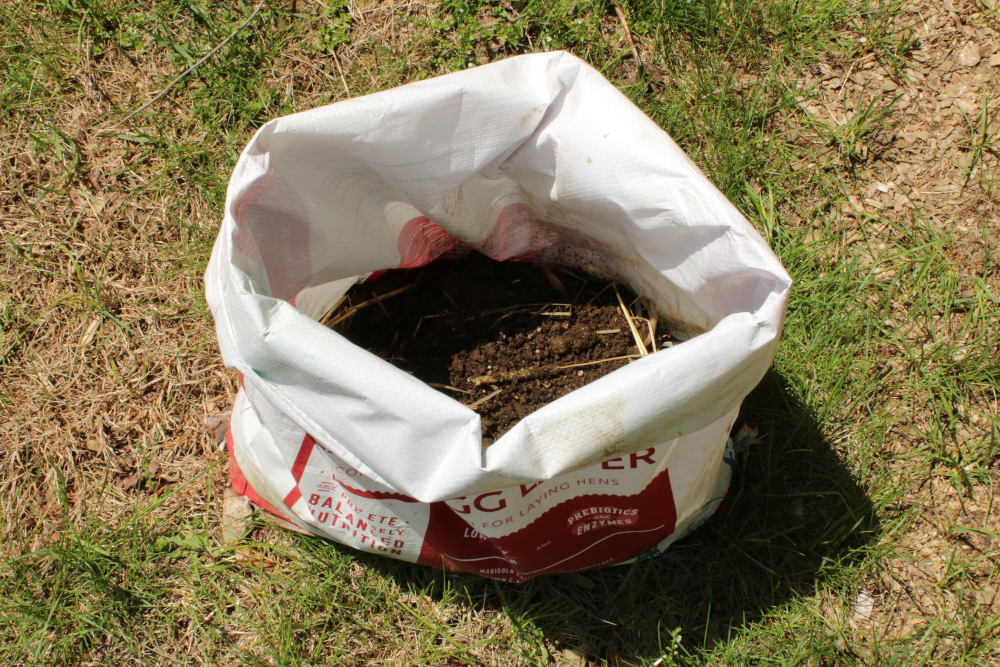
First thing, grab your grain bag and fold down the top until your about 12 inches from the bottom.

Next place the bag on a flat surface to flatten out and square off the bottom of the bag.

With your scissors cut 4 to 6 holes in the bottom of the bag that are about 1 inch in diameter.
Now cut a piece of your window screen to fit on the inside bottom of your bag.

Now prep the soil you will be using and add that to your bag. You’ll want to add 4 to 6 inches of soil to the bottom of the bag. I used a mixture of top soil, compost and straw.
Once your soil is in place plant your sweet potatoes. It’s recommended to plant one sweet potato plant per square foot, so I’d plant 1 per bag since each bag is roughly 1 square foot.
Water your plants well until their well established, about 4 days is recommended.
Place your planter in a sunny location and keep adding soil as needed.
As your plant grows you will need more soil to cover up the exposed plant leaving the leaves just visible above the soil.
As your soil gets higher to the top of the bag you will need to unroll it as you go.
Once it’s time to harvest you can either cut down the side of the bag or gently dump out the contents onto a tarp so you can save the soil for next year and it makes for easy clean up.
Tip: If you find that your night temperatures will be below 60 degrees its recommended to not plant your sweet potatoes outside. Since these are in a bag with little soil you can bring them inside until the morning when it warms up.
How to make a Wooden DIY Potato Planter

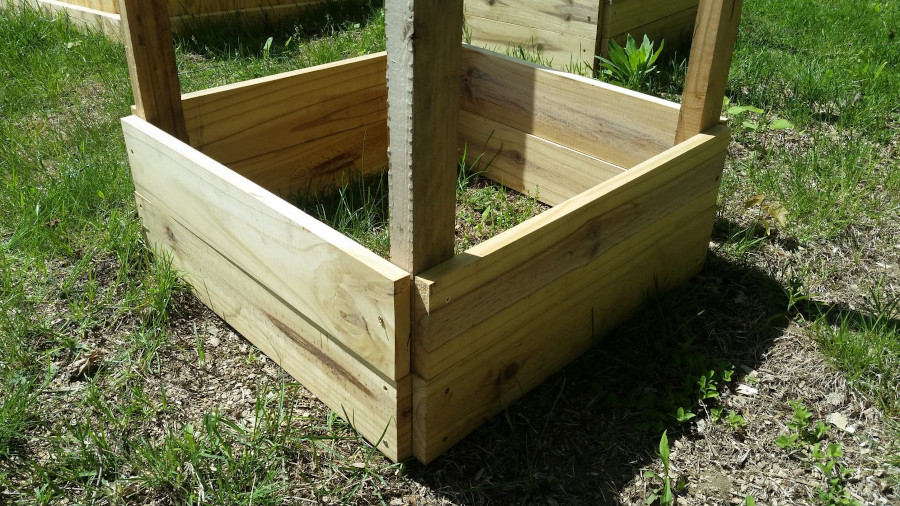
So for this potato planter we used all scrap wood. Just like when we made our DIY Raised Garden Bed, we used scrap wood that my husband was able to find. We made each tower 2 feet by 2 feet and 40 inches tall. Whatever wood you can find will work, the wood listed below is what we were able to find. I just want to give you an idea of what you can use.
Also, I will be planting regular potatoes in these potato towers but you certainly can plant your sweet potatoes in these as well.
Equipment we Used
- Chop Saw
- Screws
- Screw Gun
- Eight 1×6 boards 2 feet in length (you will need more as you keep adding soil over the season).
- Four 2×2 boards 40 inches in length ( you may not need to add this much soil, but it’s good to have extra if need be).
Note: Depending on the wood you are able to find, you may need to pre-drill if it is something that may splinter easily. My husband recommends using a 1/8th drill bit.
Instructions
Place your 2×2 boards vertically with your 1×6 boards placed horizontally at the bottom.

Screw your 1×6 boards to the bottom outside of your 2×2 boards to make a box.
We added a second layer of 1×6 boards to make it deeper for planting the potato seeds.
I used a mixture of top soil and compost with some straw mixed in.
Prep the soil that you will be using in your potato tower.
Fill your potato tower with soil at least 4 inches deep.
Plant your sweet potato slips in your tower, it’s recommended 1 plant per square foot. So for this you should be able to plant 2 per tower.
Keep your planter in a sunny location and well watered but not over watered.
As your plant grows, add more soil to cover the plant, leaving the leaves visible just above the soil.
When the soil reaches the top of the 1×6 boards add on another 1×6 board to the outside on every side of the tower.
At the end of the season all you need to do is unscrew one side to expose the soil and sweet potatoes. I recommend pulling the soil out onto a tarp to easily save the soil to use it next year and make for easy clean up.
Growing Roots on your Sweet Potato Slips
Update on my sweet potato slips, after having them planted for about 4 days I found that the roots on the slips I had not yet planted were growing very well. This reason is due to them being in a jar of water. Now this being my first year planting sweet potatoes I may have not been watering them well enough, it seemed like I was. Instead I chose to gently remove the slips from the grain bag planter until I can get some good roots on them. I will then plant them outside in the grain bags once it is plenty warm enough.
So my plan for next year will be to grow my own sweet potato slips and place them in a jar of water until it has warmed up enough outside that the night temperatures are at or above 60 degrees.
Stay Tuned for Updates on my Cheap DIY Potato Planters
At the end of the growing season I will update everyone on how my sweet potato planters turned out. I am eager to see how many sweet potatoes I get from each plant.
Being Memorial Weekend this would be a great time to build you own Cheap DIY Potato Planter. In New England this is the recommended time to plant your garden outside. Why not give it a try? You could get some delicious potatoes out of them!
Pin It for Later

Do you have any tips for planting potatoes? Let me know in the comments below!
Happy Planting!
Love this idea! Its great to use DIYs and things lying around the home, I hope to try this out when I next plant potatoes.
It’s so nice to use up whats around the property and so simple to make 🙂 Have Fun!