This simple tutorial will show you how you can make raw milk Greek yogurt using your instant pot.

Raw milk Greek yogurt is one of the many ways for you to get your probiotics. Making it in your instant-pot makes it very simple. It results in a nice thick and creamy yogurt and the tart flavor of store bought Greek yogurt. This raw milk Greek yogurt recipe has all the benefits of raw milk and much more protein then traditional yogurt.
This post may contain affiliate links. Read my disclosure policy here.
That is the difference between regular yogurt and Greek yogurt?
The short answer is that Greek yogurt has had extra liquid strained out from it.
The liquid that has been drained out from the yogurt is called “whey”. This is a product of curdled milk that has been strained.
Greek yogurt has a more tart or sour flavor. Regular yogurt tends to be a bit on the sweeter side.
Due to removing the whey, your Greek yogurt will be a lot thicker then regular yogurt. Regular yogurt is usually thinner, more runny since it still has all the whey in it.
Greek yogurt has over double the amount of protein then regular yogurt. This is due to removing the whey. When you remove the whey it makes the yogurt more concentrated.
Greek yogurt will also keep you feeling full, longer.
What do I do with the Whey?
The whey that you remove from the yogurt is still very healthy for you. There is no need to discard it because there are plenty of ways you can use it.
Drink it as is. If you like yogurt, the whey isn’t much different. There is a company, The White Moustache that sells a whey drink at Whole Foods you can try HERE. You can also experiment and add some fruit juice to the whey for a fruit flavored protein drink.
You can easily add some whey to your smoothies. This will give you that extra protein and health boost.
Add it to baby food for some added protein boost. When you want to puree something and make it smoother for your baby to eat, put a splash or two in the blender with some winter squash.
I have even read of people using whey to brine their meat in – now that’s an interesting one.
In recent posts, I have talked about soaking your grains in some raw apple cider vinegar or anything acidic to break down the phytic acid. You can also use whey, I would recommend 1 tablespoon for 1 cup of grain and cover with filtered water so it is about 2 inches above the grain. Let it soak for at least 8 hours and then drain out.
As mentioned above about soaking your grains in the kitchen, some farmers mix whey into their feed and fertilizer.
Since I have chickens that I am currently soaking grain for, this is a great way to use up whey and soak their grains.

Why would I want Greek yogurt over regular yogurt?
I prefer the tart taste of Greek yogurt and the creamy thick consistency.
I feel it is healthier then regular yogurt, especially with the higher protein content.
Like mentioned above, it will keep me feeling full, for longer.
I also like having the whey to use around the homestead. Be it in the kitchen when I’m making food or soaking feed for my chickens.
How long is Raw Milk Greek Yogurt good for?
It is best to consume it within 7-14 days.
I have found that it’s best to consume it within the first week. For the best taste and texture, one week seems to be the best. I have had it up to two weeks after I made it and it was still good – it did start to get a little lumpy due to the cream in the milk clumping together.
What temperature does the Instant Pot yogurt setting keep the milk at?
When using the “Yogurt” setting on your instant pot, it keeps your milk right around 100 – 110 degrees. This is good for keeping your milk raw so you can get all the benefits from it.
What kind of starter should I use?
To make this Greek yogurt, I used store bought Greek yogurt. I have also used regular yogurt as well. You can to use any brand of unflavored and unsweetened yogurt, just make sure it says “Live Active Cultures”. I have been using Stonyfield Organic Greek Yogurt, Plain (Unflavored). On the back near the bottom you will find that it says “6 Live Active Cultures: ….).
How long does yogurt need to culture for?
I culture mine for 20 hours. I have my instant pot preset, so when I turn it on and press the “Yogurt” button it automatically shows 20 hours.
Generally, yogurt needs to culture for at least 8 hours. This gives the bacteria enough time to culture. The longer you leave it to culture the thicker your yogurt will be and the more lactose it will break down, which will then make it easier for your body to digest.
24 hours is usually the max amount of time you would need to culture it for.

Tips for making Raw Milk Greek Yogurt
- I recommend “sterilizing” your Instant Pot insert. We make other things in the Instant Pot, so I to make sure it is very clean and doesn’t have any unwanted bacteria on it. I boil some water and pour it in the insert and run it over the sides and the bottom of the inside, multiple times.
- Don’t stir your yogurt while it is culturing, this could result in a thinner, more runny yogurt.
- Use a fine weave cheese cloth, this will help keep the yogurt from going through the cheese cloth when your straining.
- If you are using non-homogenized milk, thoroughly mix in the cream to minimize the amount of cream clumps. I find that this makes for a smoother consistency once the yogurt has cultured.
- Remove the rubber seal on your Instant Pot lid. The seal tends to absorb the flavor of things you have cooked in there and this may make your yogurt taste bad. Think, meat flavored yogurt – Yuck!
- A lot of people prefer to hang the cheese cloth from a cabinet door so the whey can drain into a bowl below. I don’t because I want to prevent fruit flies from getting into the whey since I will be saving it.
How to make Raw Milk Greek Yogurt, in the Instant Pot
Tools you will need
Instant Pot
Measuring Cup
Whisk
Cheese cloth
A colander over a large pot
Storage for finished yogurt – I love to use mason jars
Ingredients
Raw Milk – 1 gallon
Starter culture – a hefty 1/2 cup *I recommend whole milk yogurt
Directions
Making the Yogurt
Add 1 – 2 cups of milk to a very clean instant pot insert.
Add your starter culture and whisk it in well. If there are any cream clumps, try to mix those in well.
Pour in the rest of the milk and then stir well to incorporate it with the starter culture.
Press the “Yogurt” function on your Instant Pot – Note: Not all Instant Pots have the yogurt function. Other functions may not be able to hold the yogurt at the proper temperature needed for yogurt.
Set the timer for 20 hours. No need to seal the lid. *Don’t forget to remove the rubber seal from the lid*
Once your yogurt has cultured for the 20 hours, remove the insert from your Instant Pot and place it in the fridge for at least 4 hours to stop the culture process.
Straining the Whey
At this point you can skip this step and just have regular raw milk yogurt. It just won’t be as thick as Greek yogurt.
Remove your yogurt from the fridge and with your whisk, mix in the cream that has risen to the top. Make sure to thoroughly to mix in the cream so there are no lumps.
Add your cheese cloth in your colander that is placed over a large pot. Note: I needed to use two colanders and pots to hold the full gallon.
Pour your yogurt into each colander over the cheese cloth and then cover with a lid to prevent any unwanted flies getting to it. Note: you may need to place a small jar or cup under your strainer to keep the yogurt from sitting in the whey that drains out.
Let the whey strain out for about 4 hours. Note: The longer it sets the more whey will drain out, resulting in a thicker yogurt. Let sit too long and it becomes more of a cheese consistency.
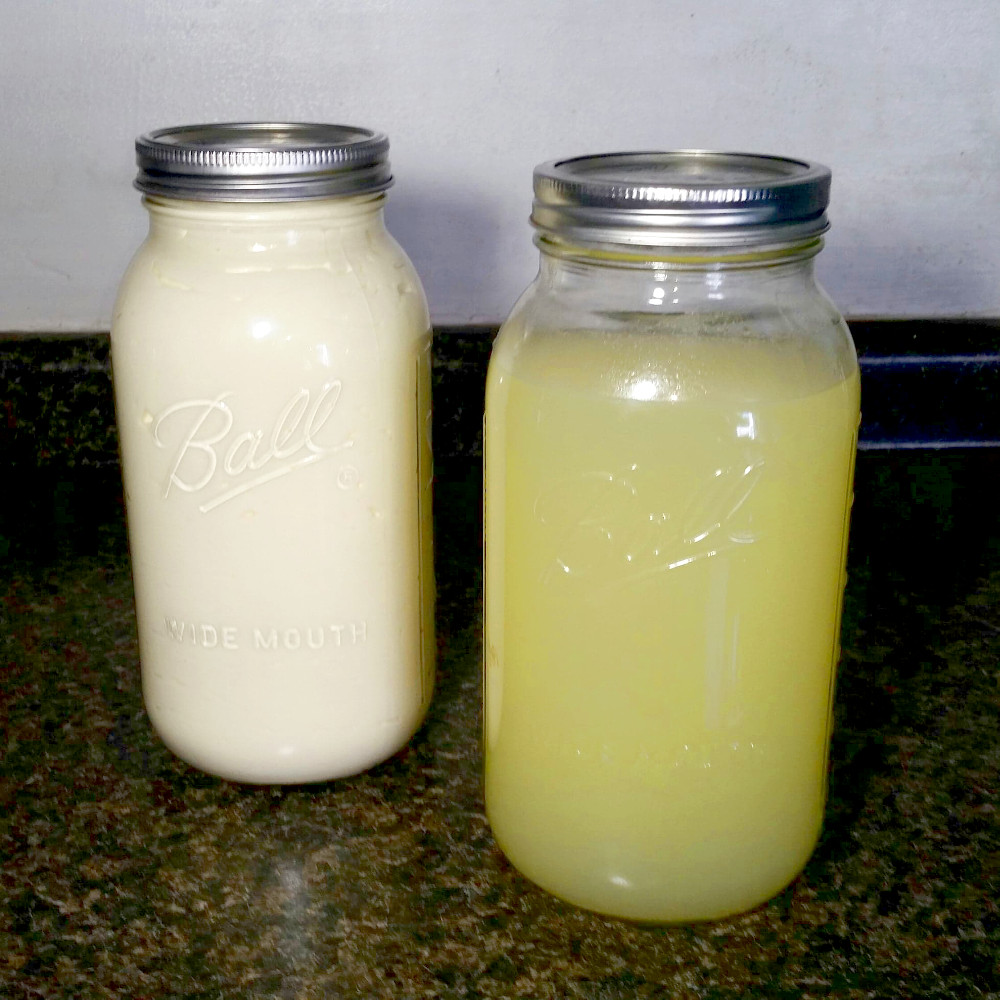
Once your yogurt has strained for the 4 hours, take the whey from each pot and save in a container, like a mason jar, for later use.
To one of the pots you used, pour all the yogurt into it and whisk well to mix it all together. You may have found that the yogurt near the top sides of the cheese cloth, while straining it, is drier then what was at the bottom of the colander. Mixing it will make for a more uniform consistency.
Pour your yogurt into your container and chill in the fridge for a couple hours.
Serve and enjoy!

Ways to eat your Raw Milk Greek Yogurt
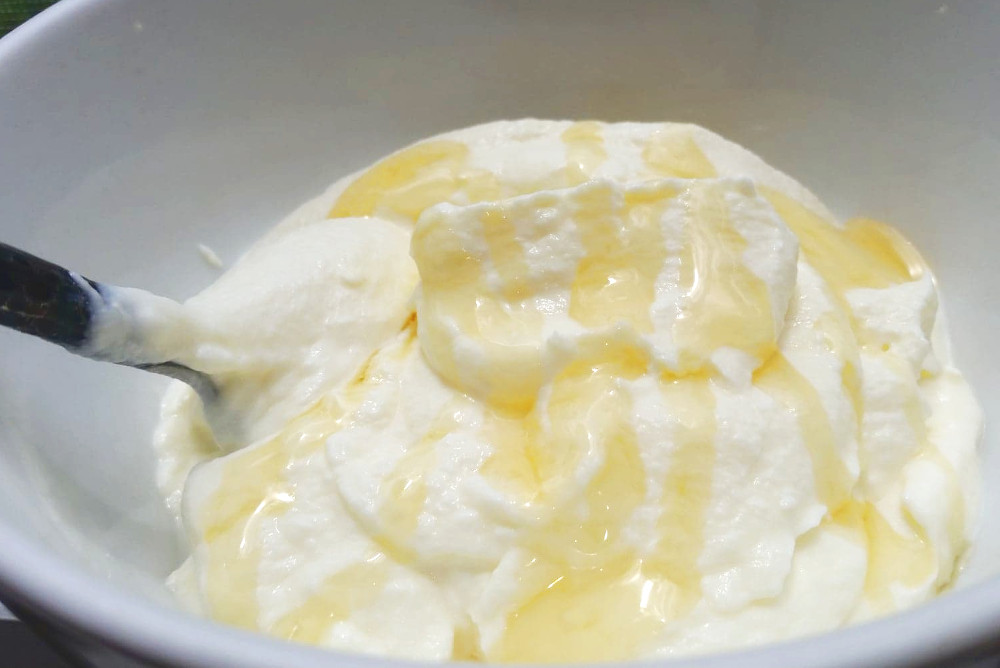
When it comes to yogurt I tend to be traditional and just add a little honey to it and call it good. It adds just enough sweetness to make a tasty treat or a quick breakfast.
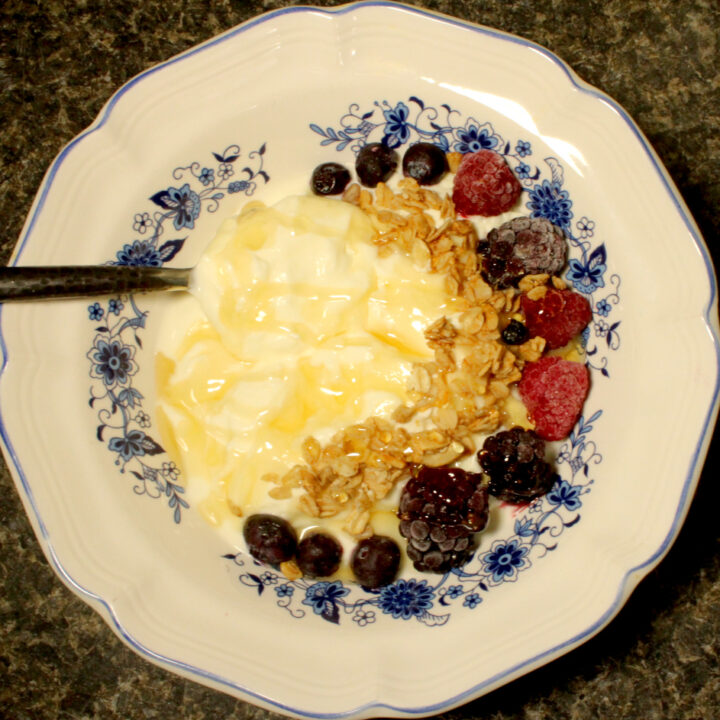
Occasionally I will add fresh fruit with some granola and a bit of honey and maybe a touch of vanilla extract.
I have a tutorial on how to make homemade vanilla extract HERE.
You can add your yogurt to soup in place of cream or topped on chili like sour cream or even as salad dressing.
Some people have even added them to tasty desserts like a fruit tart. Sounds pretty good, right?
You can even use it in baked goods like cookies and cheesecake.
How do you love to use your Greek yogurt? Do you have any great ideas to use the whey? Let me know in the comments below, I’d love to get some new ideas!
SHOP THIS POST
Show your support and appreciation. If you made this recipe and loved it, give it a 5 star review and leave a comment. Follow me on Instagram @naturalliving.homestead then tag me in a photo of your amazing creation! Thank you!
PRINTABLE RECIPE CARD

Raw Milk Greek Yogurt in the Instant Pot
Make raw milk greek yogurt with this simple tutorial using your instant pot. This is one of the many ways for you to get your probiotics. This recipe makes a thick and creamy yogurt with the tart flavor of store bought Greek yogurt with the benefits of raw milk.
Ingredients
- Raw Milk - 1 gallon
- Starter culture - a hefty 1/2 cup *I recommend whole milk yogurt
Instructions
Making the Yogurt
- Add 1 - 2 cups of milk to a very clean instant pot insert.
- Add your starter culture and whisk it in well. If there are any cream clumps, try to mix those in well.
- Pour in the rest of the milk and then stir well to incorporate it with the starter culture.
- Press the "Yogurt" function on your Instant Pot - Note: Not all Instant Pots have the yogurt function. Other functions may not be able to hold the yogurt at the proper temperature needed for yogurt.
- Set the timer for 20 hours. No need to seal the lid. *Don't forget to remove the rubber seal from the lid*
- Once your yogurt has cultured for the 20 hours, remove the insert from your Instant Pot and place it in the fridge for at least 4 hours to stop the culture process.
Straining the Whey
- Remove your yogurt from the fridge and with your whisk, mix in the cream that has risen to the top. Make sure to thoroughly to mix in the cream so there are no lumps.
- Add your cheese cloth in your colander that is placed over a large pot. Note: I needed to use two colanders and pots to hold the full gallon.
- Pour your yogurt into each colander over the cheese cloth and then cover with a lid to prevent any unwanted flies getting to it. Note: you may need to place a small jar or cup under your strainer to keep the yogurt from sitting in the whey that drains out.
- Let the whey strain out for about 4 hours. Note: The longer it sets the more whey will drain out, resulting in a thicker yogurt. Let sit too long and it becomes more of a cheese consistency.
- Once your yogurt has strained for the 4 hours, take the whey from each pot and save in a container, like a mason jar, for later use.
- To one of the pots you used, pour all the yogurt into it and whisk well to mix it all together. You may have found that the yogurt near the top sides of the cheese cloth, while straining it, is drier then what was at the bottom of the colander. Mixing it will make for a more uniform consistency.
- Pour your yogurt into your container and chill in the fridge for a couple hours.
- Serve and enjoy!
At this point you can skip this step and just have regular raw milk yogurt. It just won't be as thick as Greek yogurt.
Pin it for Later


We love making yogurt at home (although I do it in my oven at 105˚f). People in Europe often buy whey in the store just to drink it. I used it last night for my sourdough bread and it came out beautiful 🙂
I have never tried to make my own yogurt, but I may have to start now!
We eat Greek yogurt as well, but have never made it. I will have to try this recipe.
Hi! What would I change if I have powdered yogurt starter? Can I just add that in along with Greek yogurt? Thanks!
If your powdered yogurt starter is still good (not expired), I would just add that in to your milk and stir it in well with a whisk. You then would not need the Greek Yogurt as a starter anymore since you have the powdered starter on hand.
HI Maria, Can you halve the recipe and only do a 1/2 gallon milk with 1/4 cup starter yogurt? Thanks!
Yeah, that should work fine.
When using your raw milk, do you skim the cream off the top? Or do you use it all? Thanks!
I use it all. Makes for a very creamy consistency.
I use it all, I mix it right in as I go along. I find it makes for a deliciously creamy yogurt that way.
The yogurt just strained right through the cheese cloth. Was it to thin?
Sounds like it didn’t ferment long enough or there wasn’t enough starter added to the milk. The yogurt you add to the milk needs to have Live and Active cultures. Then kept on the yogurt setting until fermenting is done.
So you don’t heat the milk first? I always thought that even with raw milk it needed to be heated to at least 110 degrees? Other instructions say to heat to 180 degrees, but I believe that will kill the good bacteria.
I have found that my instant pot heats it to right around 100 to 110, so low enough to keep the good bacteria but high enough to culture properly. Any higher then 110 you start killing the good bacteria.
After you make your first time batch of greek yogurt from raw milk, when it comes time to make a second batch, can you use your first time made yogurt for the starter?
I didn’t I have heard that it may not be strong enough to make a new batch set properly, but I feel opinions on that vary. You can give it a try, I think it may be able to do at least one batch. I never did, just because I found it easier and I was sure to get a good batch each time.
My batch came out amazing!
Thank you for the recipe.
Thank you. I actually took the Course from FarmhouseonBoone.com She walks you through everything when creating a blog.
Can you put the pots and colanders in the fridge while letting it strain for the 4 hours or does it need to be at room temp?