

Soil block seed starters are a simple and inexpensive way to get your seeds planted. With this method you can skip those plastic seed cups and trays. Just grab some soil, water and a tray to get them started.
My husband and I have been using a soil blocker for a few years now. I like that they are very simple to use and make very well compact blocks of soil. With each soil block there is a small hole in the top that is made from the soil blocker. This hole is just the right depth to plant most seeds. You can then cover it with a bit of loose soil or like I do, just pull some of the soil from the edges of the block to cover the seeds.
Using soil block seed starters saves so much time and I then don’t need to use the flimsy plastic sheets of seed starting cups. Like these trays below.
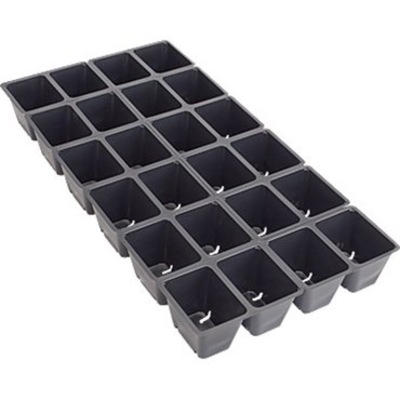
I unfortunately didn’t think ahead enough this year and did have to use the plastic seed trays to keep my soil blocks in. It came with the plastic cover so I can have the greenhouse effect for my soil blocks since I do not have a green house at the moment.
Next year I’ll probably switch over to wood trays. This would be roughly a 9 inch by 13 inch board that’s about 1 inch thick with a 1 inch by 4 inch board added vertically to the length of 3 or 4 sides. This will make for a very sturdy tray to hold my soil blocks. Unlike the plastic ones that are flimsy and twist if not held evenly.
Different Size Soil Blockers
There are 3 different sizes when it comes to making soil blocks. There are 1/4 inch, 2 inch and 4 inch.
The 1/4 inch tends to be used more by commercial growers. If your looking to grow a lot in a small space this size would be good for you. Though once the seeds have sprouted they will need to be transplanted sooner. This can either be done in a pot, the ground or put into a 2 inch soil block. This soil blocker will give you 5 blocks at once with a small hole made into the top of each one. Though there are others that can make 4 times that amount of blocks. Like these below.

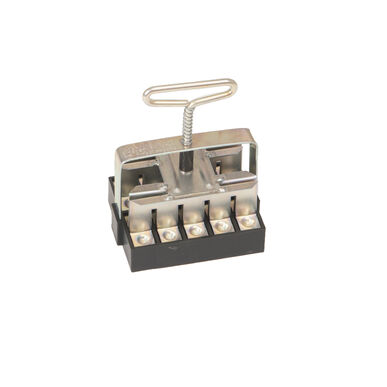
Top view 20 count soil blocker 
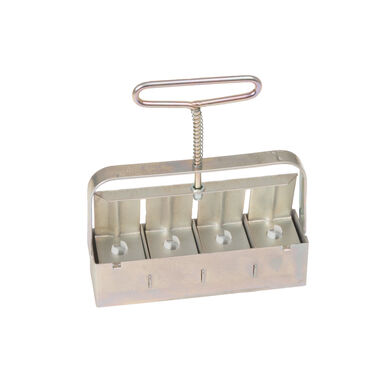
Bottom view 20 count soil blocker
We went with a 2 inch soil blocker since this is more of a standard size to start your seeds in. You will get four 2 inch soil blocks with this one. This is the size soil block you would transplant your 1/4 inch blocks into. Once your plant outgrows this size, once again you can plant into a larger container, the ground or into the 4 inch soil block.
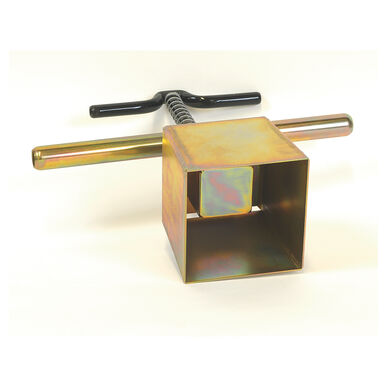
When it comes to the 4 inch soil blocker it only makes one at a time unlike the other soil blockers where you could get 4 or more blocks.
Peanut butter consistency
When it comes to making the soil blocks you need to make sure that your soil to water ratio is just right. I like to refer to Johnny’s Selected Seeds when it comes to soil block equipment and a quick “how-to” video for this. They recommend a peanut butter consistency when mixing water into your potting soil. If there is too much or too little water your blocks won’t form properly.
How to make Soil Block Seed Starters
Equipment You may need
Potting soil of choice
and of course water
Hand trowel to mix soil (optional)
Gardening gloves (optional)
A large container of choice (I like the rubber feed pans)
Soil blocker of choice
Seed starting trays (wood if you can or plastic)
Directions
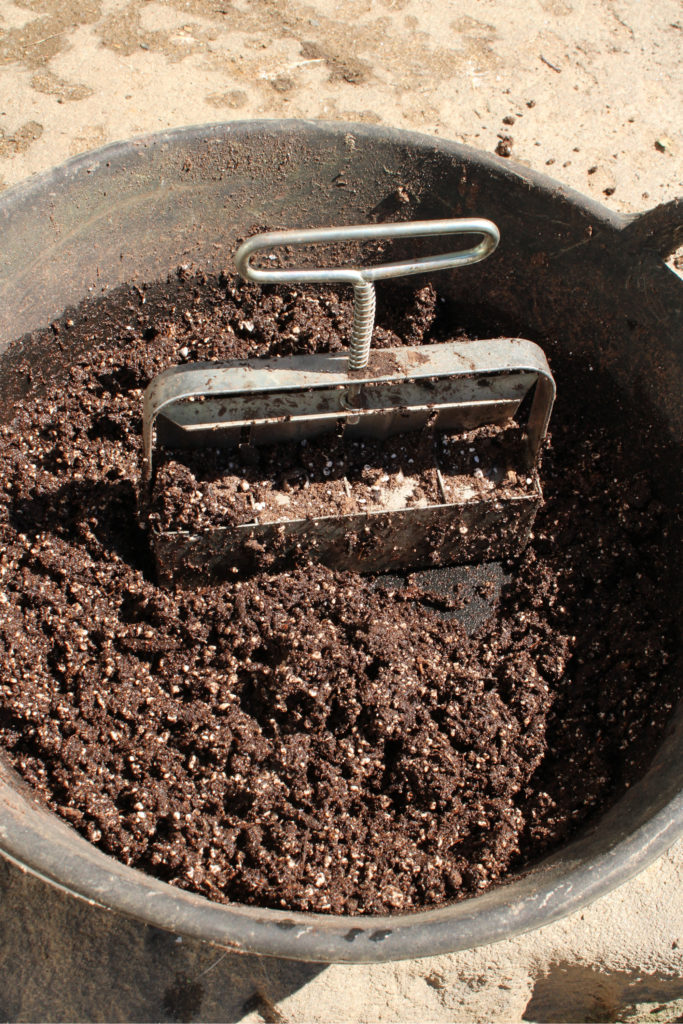
To make our soil block seed starters, I used a 2 inch soil blocker.
In a rubber tub I add my potting soil and water and then mix well until I have a peanut butter consistency.
I then take my soil blocker and press it multiple times into the potting soil to press as much soil as I can into each compartment.
Making sure to press firmly onto the bottom of the pan to firmly compact the soil into the soil blocker.
Then I scrape off any excess potting soil that is sticking out from the bottom of the soil blocker.
You don’t want to skip the previous step. This makes sure your soil blocks sit level on your trays.
Grab your seed starting tray and place your soil blocker at one corner and squeeze the two handles together.
It will then push out all your blocks onto your tray neatly with perfect holes in the top of each block.
If your blocks did not form properly, i.e crumbly or soggy, just add them back to your soil container and add water or soil as necessary and then mix well.
Now just continue making your soil blocks for as many as you need.
Once I have all my soil blocks established it’s time to plant your seeds. Since each block has a small hole in the top for the seeds I don’t usually need to do anything more.
Add the seed and cover with soil as your seed packet directions recommend.
If I happen to have a seed that needs to be planted at a 1 inch depth I will take a stick or pencil and make the hole a bit deeper and push the seed down into it.

Seed starter potting soil recipes
There are many potting soil recipes online if you prefer to make your own soil mixtures.
You can add things like peat moss, bone meal, compost, and lime. If the soil you will be planting in is lacking in a nutrient you can add these things to the soil for your soil blocks to help give your plants a boost. Or maybe your planting in containers and don’t want to use commercial potting soil.
I have yet to migrate into that level of gardening, so unfortunately I do not have a potting soil recipe. So at the moment I just use a bag of organic potting soil from my local hardware and that has worked for me thus far.
Do you have a potting soil recipe you’d like to share? Let me know in the comments below.
Pin It for Later!

Such a great idea and tutorial. We are for sure doing this next year!
Thank you so much! If you start a second crop of cold hardy vegetables come July or August you could use this method for those seeds as well.
I can tell what my next purchase is going to be! What a great idea and I love learning about something new!
Will need to visit our local garden store soon! Thanks for sharing this!
That is so helpful to know that the consistency should be like peanut butter! Great tutorial!
Love your post! I really want to try this method next year or this fall!